Earlier, tiles were available in a handful number of sizes. But, with the advent of technology and larger spaces being built, the sizes of tiles have been getting bigger. The use of large format tiles is no longer relegated to commercial spaces. Home owners are also preferring the larger tile sizes. Large format tiles are in a great demand in both commercial and residential spaces. Modern day interiors are about putting your personality on display and bigger the tile, the more dramatic a statement you can make!
With the rise in the popularity of these large format tiles, more and more people want to know about large format tiles, their usage, advantages, and of course, how to install them. If you are one of those, read on to know everything there is about large format tiles.
A decade ago, any 12 inch (300 mm) tile would have been considered to be of a large format. But, today with the introduction of larger tiles, any tile that has an edge longer than 15 inches (roughly 380 mm) can be considered to be “large format”.
Well, now that we have established which tiles are considered to be large format, let us take a look at the advantages – the reasons why these tiles have shot to popularity and pushed tile manufacturers to create even larger tiles!
One of the biggest advantages of large format tiles is that you have less grout area. Since the large tile provides you with larger coverage, there is a lesser need for grout – giving your space a clean, crisp and seamless look. On walls, large format tiles are a durable option and do a great job of protecting against stains and make it easy to clean as well.
Cleaning the grout lines of tiles is probably the hardest part of tile maintenance. Large format tiles give the advantage of lower number of grout lines and a seamless look. With a lower number of grout lines there also comes an ease of cleaning. Bathrooms and places exposed to moisture are prone to mildew and stains. Regular cleaning of the grout is necessary so dust and grime doesn’t get settled into the grout lines.
Deep cleaning the grout lines is a time consuming task, but with large format tiles you can simplify your tile cleaning routine and say goodbye to extensive and time consuming grout cleaning routines!
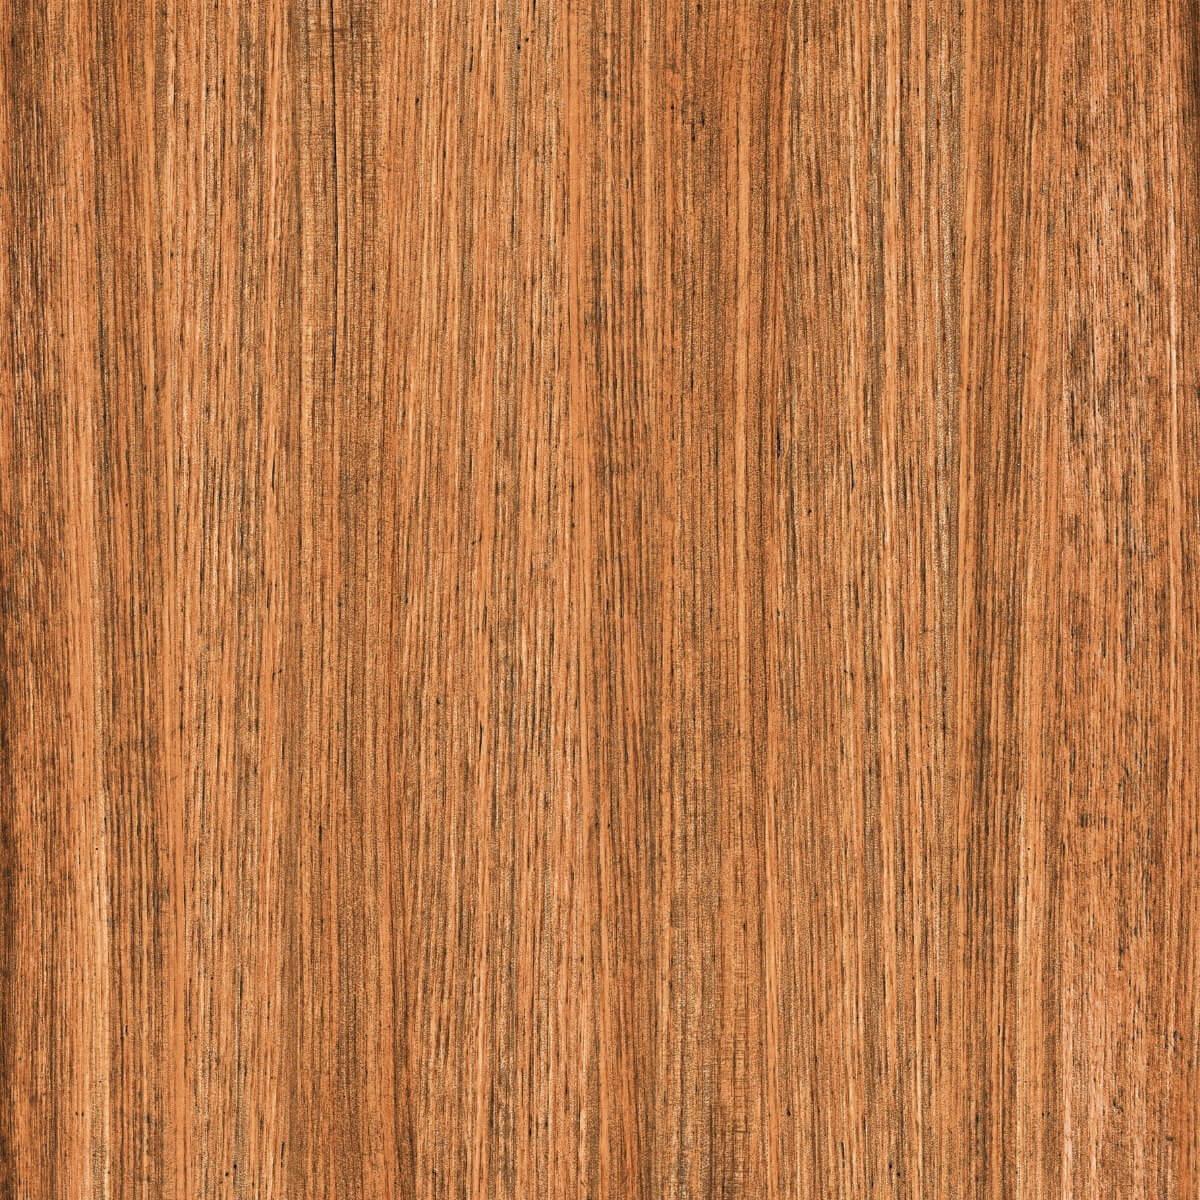
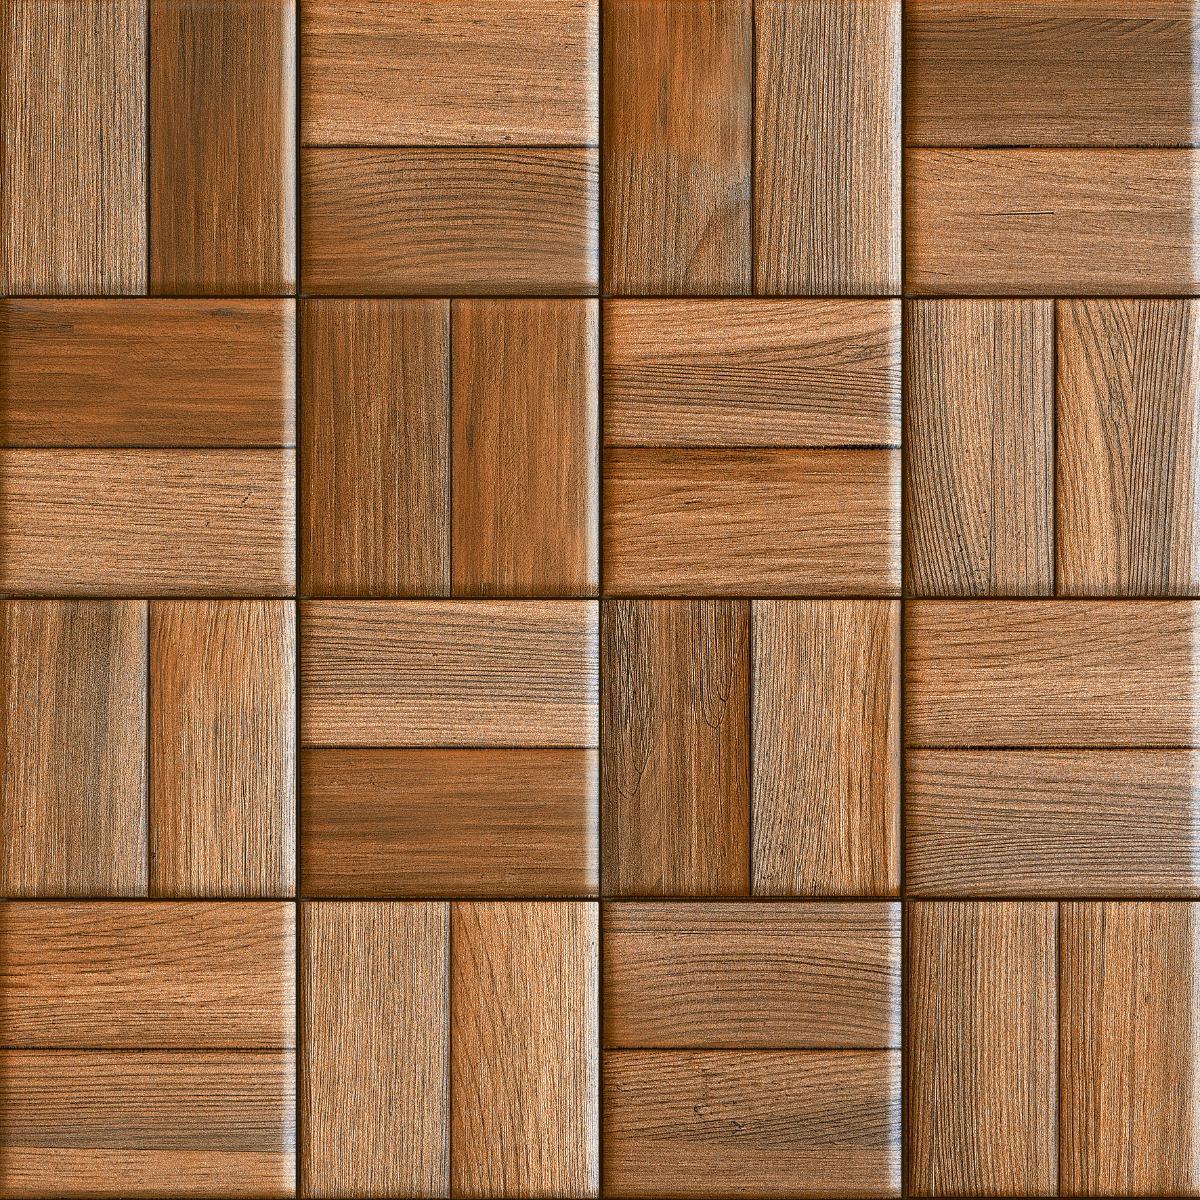
Practical uses aside, large format tiles also provide you with an unmatched aesthetic. The large size and the sleek look give a very modern touch to any space. With modern day printing technology, large format tiles are available in various designs, some of them emulating the looks of various other materials, such as wood and stone, effortlessly giving your home the look you need. With a large unbroken tile surface you can be assured of a contemporary look that oozes panache.
The seamless look and the lack of grout lines also help in making a space, especially an open space like a living room, look a lot bigger. Since there is a lesser number of grout lines distracting your eye, the tiles have an unbroken look that seems to go on and on.
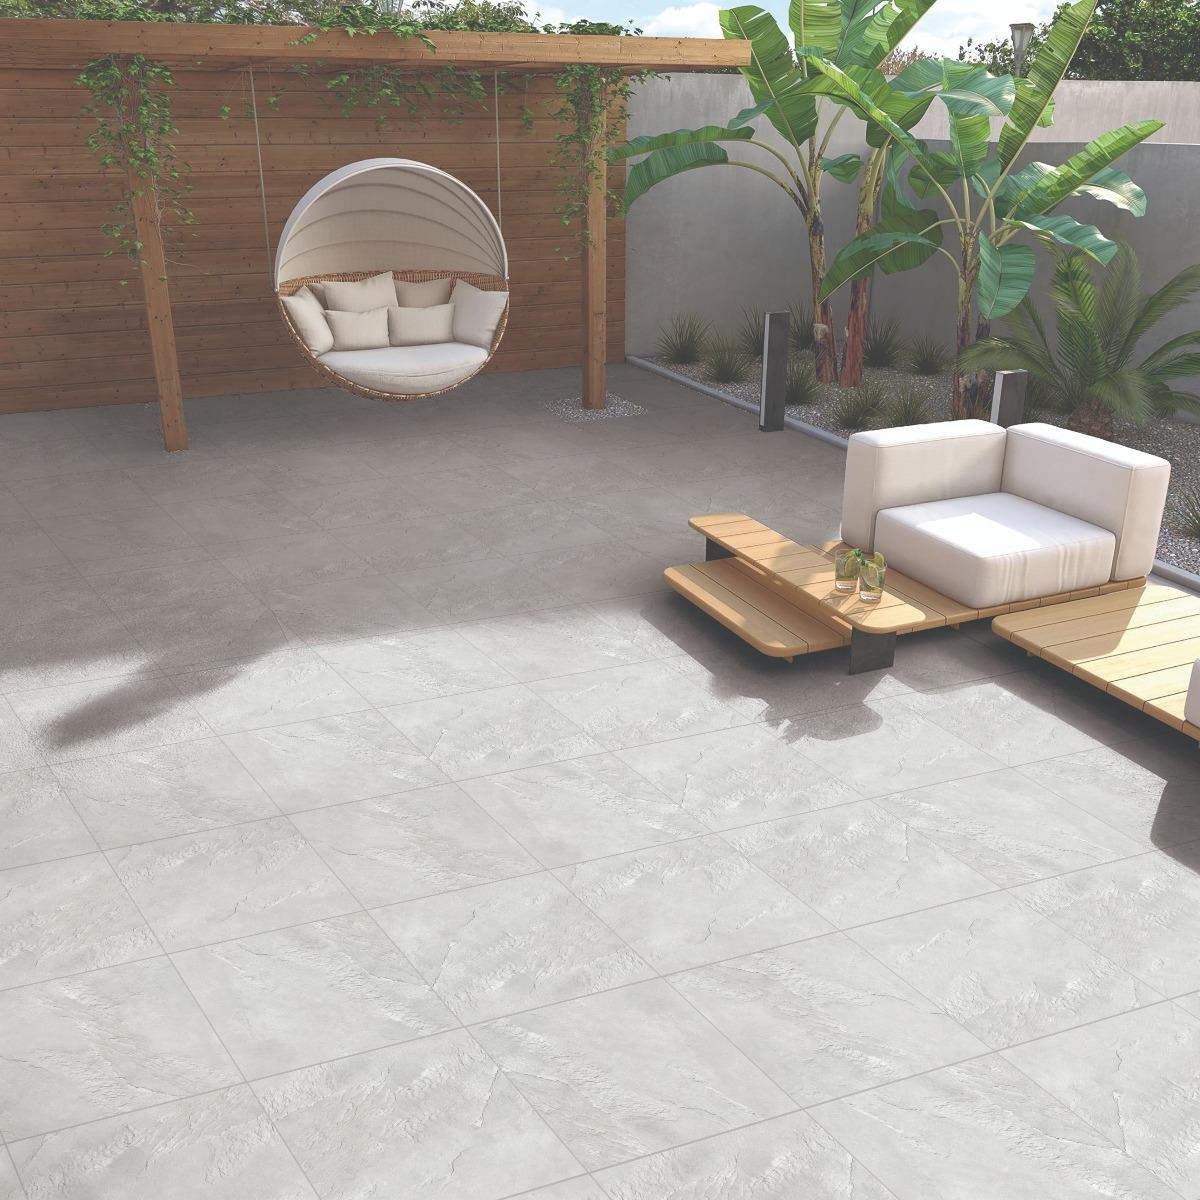
A common myth is that large tiles should not be used in a smaller space as it can make your room look smaller. Big or small, no matter the size of your space, large format tiles will always create an illusion of more space. Check out how large format tiles have been used in these spaces.
Pro Tip
Use the same tiles on your floors and walls for a seamless look that creates an illusion of more space.
Make your space look even bigger by colour matching the grout with your large format tiles.
How to To Install Large Format Tiles
So, you now know the what and the why, let us now look at the how – how to install large format tiles. While installing large format tiles is pretty much the same as installing any other tile, the only difference is that because of its larger surface area it is imperative to create a smooth surface as imbalance or debris on the surface can result in an improperly installed tile that can be prone to breakage and cracking.
Step 1: Preparing The Surface
1. Large format tiles can be installed on almost any substrate that is smooth, clean, dry, and does not have any kind of scum, grease or wax on its surface. If your surface has any uneven areas or has spots that are flaking or loose, they need to be levelled before you begin.
2. Create a blank canvas by removing all appliances, mouldings, shelves, furniture, appliances, etc. from the walls and floor where the tiles need to be installed so that there is minimal interference during installation.
3. If you have door jambs make sure to undercut them so that you can easily slip your tile beneath them.
Step 2: Finalising The Layout
Before you start laying your tiles make sure you measure and mark the centre point of each wall.
Use chalk to connect the centre points of the opposite walls to divide your room cleanly into four equal quarters.
Loosely lay the tiles along the lines in all directions, using spacers for even spacing. Repeat until all the tiles have been laid. You can create additional lines to help guide you by diving each quarter into smaller grids.
As a rule of thumb only mix enough quantities that will last you for 30 minutes to avoid wastage.
Step 3: Applying The Adhesive Or Mortar
Study your substrate and research which adhesive or mortar works best for it. Read and follow all the instructions to the T to ensure all precautions and instructions are followed.
Using the flat surface of a trowel spread enough adhesive to create a ¼ inch thick coat on a small section of your grid. Make sure you do not cover any of the guide lines that you have created.
Holding the notched surface of the trowel at a 45 degree angle create ridges and grooves in the adhesive.
Gently scrape off the excess adhesive to create a ridged setting bed that is level.
Only cover a small area at a time – enough that you can finish placing your tiles within a 15 minute window.
Step 4: Cutting A Tile To Fit Tight Corners
Measure and mark the tiles that need to be cut using a felt tip pen or a carpenter’s pencil.
Use a tile cutter to make the diagonal or straight cuts. A nipper can be used to make curved cuts – chipping away a small piece at the time is the best way to control this process and make sure you do not cut off too much. For full length curved cuts a rod saw works best.
Use a carborundum stone to even out the sharp edges.
Step 5: Setting The Tile
When installing tiles, start at the centre of the room and slowly make your way outwards. Make sure you finish each grid before starting the next one.
Place your first tile in the corner of the grid in the centre of the room and move towards the walls.
Do not slide the tiles into their places – place them one at a time with a slight twisting motion for best results.
Try to leave equal joints between places – the best way to do this is by using tile spacers between tiles for uniform joints.
Place the perimeter tiles the last and make sure you leave about 1/4th inch of space between the wall and the tile.
After each grid is completed gently tap the tiles with a rubber or wooden mallet to ensure the tiles adhere well and to create a level surface.
Use a putty knife to gently scrape extra adhesive from the tiles. Then clean the tiles using a wet cloth to remove all the adhesive residue from the surface of the tile.
Pro Tip
Allow the tiles to set for at last 24 hours before walking on them.
Step 6: Grout The Joints
Generally, most adhesives ask you to wait for at least 24 hours before you start grouting. Check your adhesive package for specifications regarding the same.
Prepare the grout as per package instructions. Make just enough grout for about 30 minutes of work time.
If you have added any spacers between your tiles, this is the time to remove them.
Spread the grout on the surface of the tile, making sure you use a squeegee or a rubber grout float to force the grout into the joints. Keep your float tilted at a 45 degree angle.
Use the edge of your float to scrape off the excess grout from the surface of the tile immediately. Tilt your float at a 90 degree angle and run it diagonally across the surface of the tile.
Allow the grout to set for about 15 to 20 minutes and then wipe the surface of the tile using a wet sponge to smoothen the grout joints and remove all the grout residue from the surface of the tile.
Allow the grout to dry until the grout hardens and becomes hazy. Polish it with a soft cloth and wipe again using a wet sponge if required.
While you can walk on the tiles, it is best to give the grout about 72 hours to set before full fledged use.
Watch Our Experts Show How to Lay Tiles Perfectly
How Can Orientbell Tiles Help?
Orientbell Tiles manufacturers tiles in a large variety of sizes – from as small as 200x300mm to as large as 800x2400mm. Our large format tiles are available in a variety of material, finishes, designs and colours for you to choose from.
Confused which tile to pick? Head toTriaLook and try the tiles of your choice in your space before making a choice!
No, large format tiles are not harder to install. If anything, large format tiles are easier to install as you need to use a lesser number of tiles to cover an area.
All large format tiles, with a side size greater than 15 inches (or about 380 mm), require at least a 1/16 inch grout joint. You can even increase the size of the grout joint to 1/8 inch or 3/16 inch for a smoother installation process.
The surface should be flat, about 1/8 inch in 10 inches when measured from the high points of the floor. This means that when you measure the floor at two high points, spaced 10 inches apart, the difference in their height shouldn’t be more than 1/8 inch.
Large format tiles can be used in most areas such as living rooms, kitchens and even bathrooms. These tiles are versatile and go on the walls and floor of most spaces. Large format tiles will give your rooms a cleaner and larger look with lesser grouts. They area also easier to clean. Large format tiles are on top of trends and they are not going away any time soon! From their practical advantages to their aesthetic appeal – large format tiles are a great choice for any residential or commercial space. Make sure you install them properly and you will not be disappointed!
Mannika Mitra brings a wealth of experience to her role as Digital Content and Marketing Manager at Orientbell Tiles, having been associated with the company for the past 5 years. With a total of 12 years in the industry, Mannika holds an Arts degree from Delhi University and a Post-Graduate Diploma in Journalism and Mass Communication. Her journey has seen her excel as a digital producer at esteemed news agencies like ANI, NDTV, and Hindustan Times.


 600×1200 mm