The thought of wall tile installation could be an intimidating prospect, but if you do the proper preparation and use the proper tools, the process of tile fixing is pretty straightforward and not as complicated as you think. If you’re daunted by the prospect of wall tile installation, don’t be, as we’ve created this handy guide that covers everything there is to know about wall tiling.

What materials you need to install a wall tile:
- Cement
- Sand
- Tile adhesive
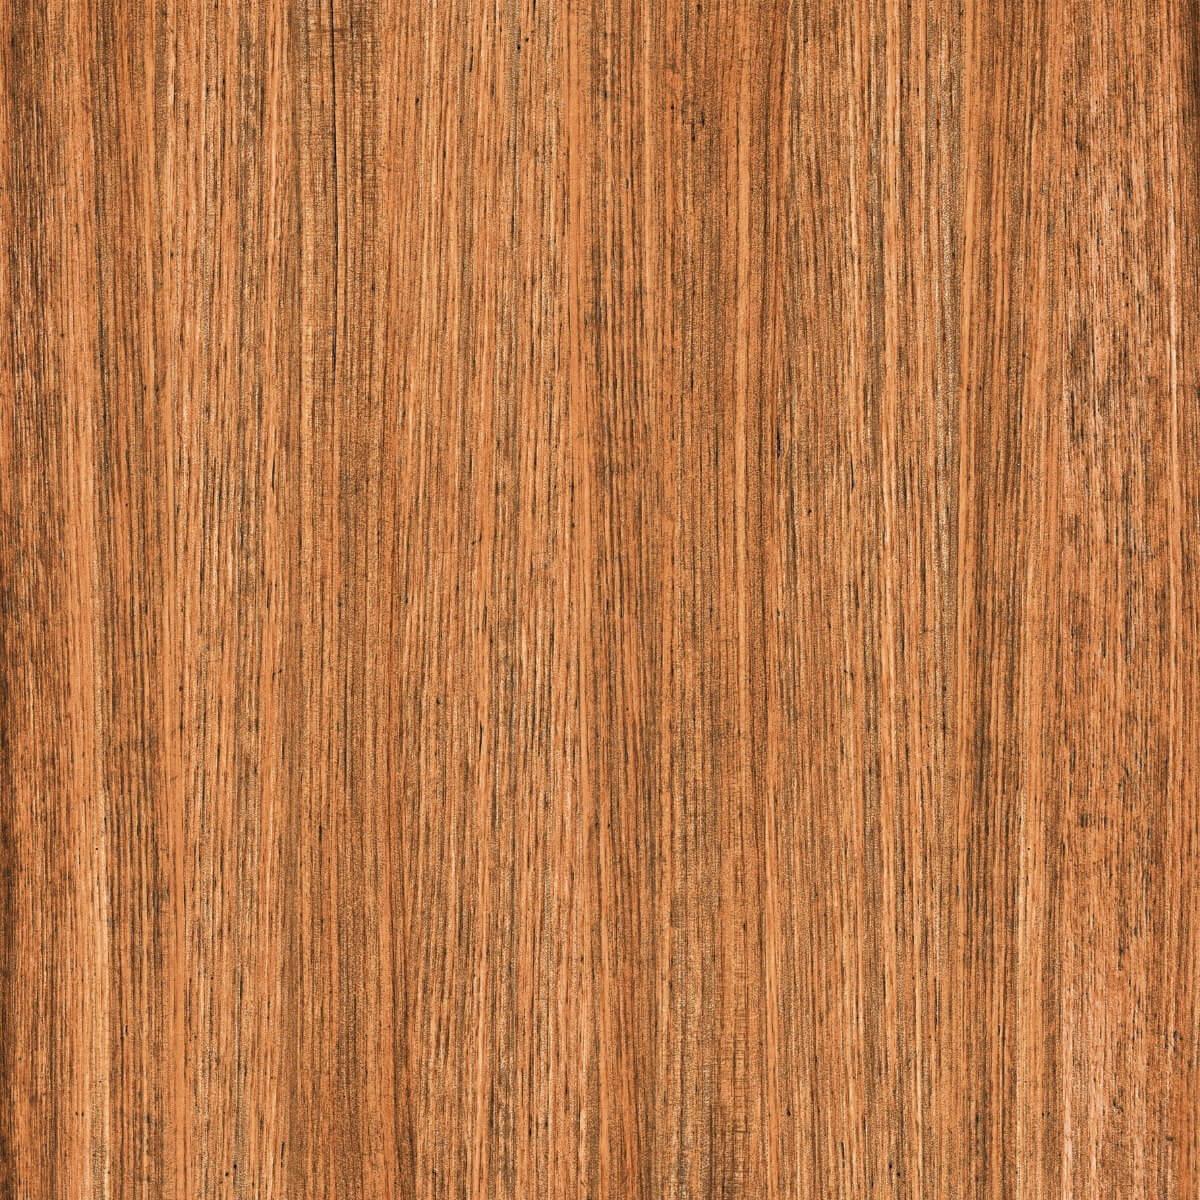
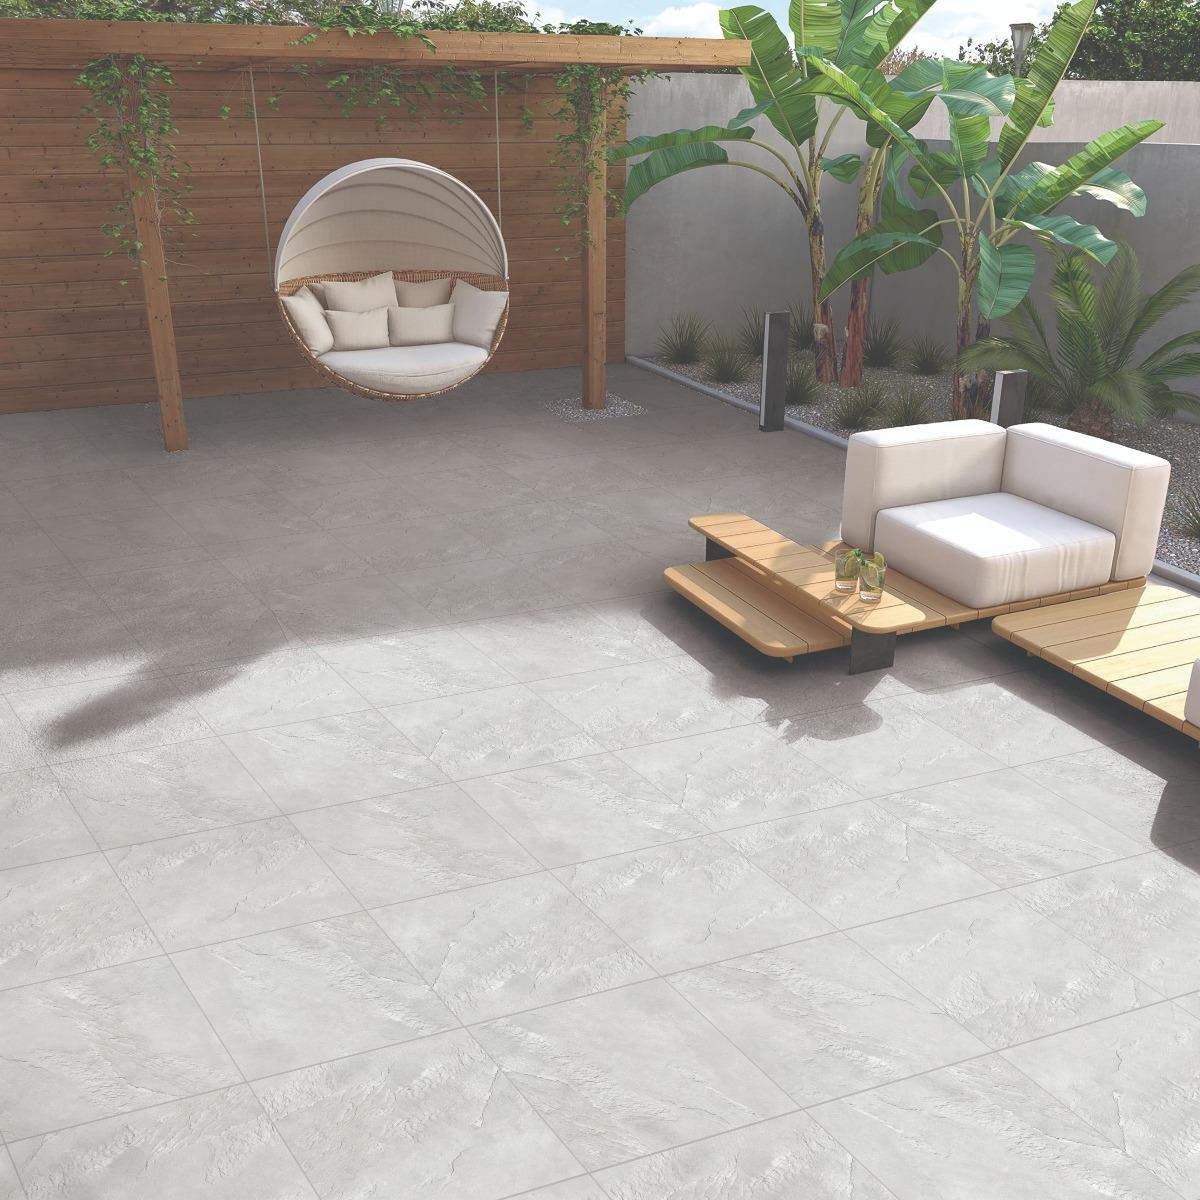
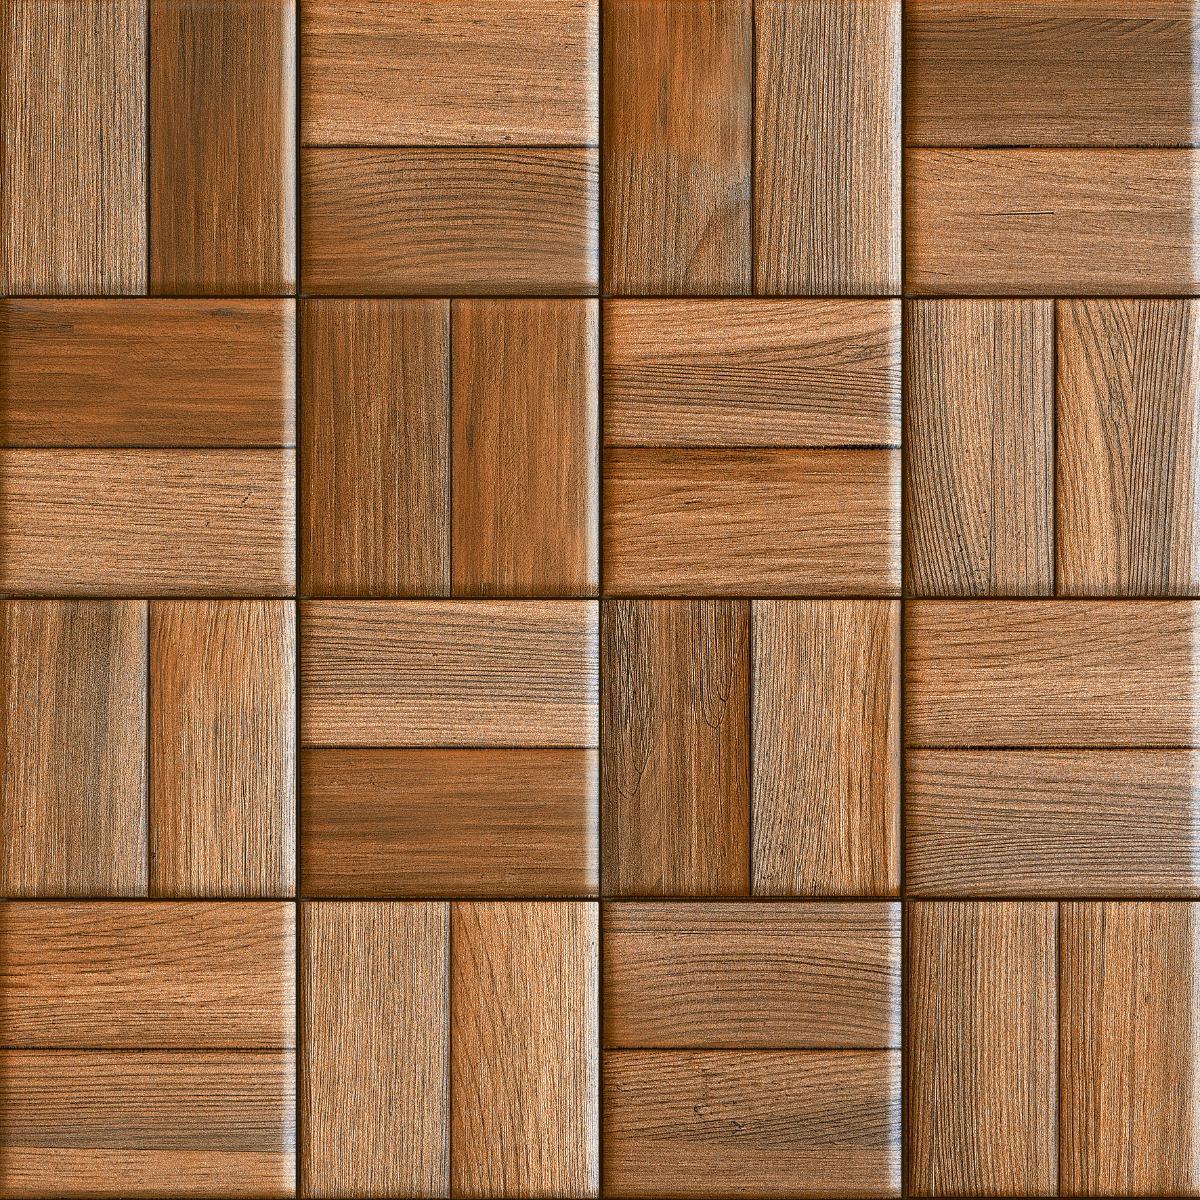
- Tiles
- Epoxy grout
- Silicone sealant
- Hand gloves
- Safety helmet
- Safety glasses
- 8mm notch trowel
- Gauging trowel
- Diamond cutter
- Tile mortar mixer
- Tile spacers
- Manual tile cutter
- Rubber hammer
- Leveller

Important considerations to make before beginning with the placement of tiles:
- Tiles should be kept on a wooden base which is a few inches higher from the floor.
- Cement should be kept in a dry place.
- Tiles should be segregated according to their designs and installation place to maintain a systematic installation.
- Have the 3D layout design on the paper with you.
- Every box of Orientbell tiles has a specific batch number, make sure you use the tiles of the same batch number for each space.
- Make sure you measure the tiles properly before cutting them to fit the space.
- If you need to make a hole in the tiles, make sure you use an accurately sized round drill.

The Process To Put Up The Wall Tiles:
A) Wet-on-Wet Process
- Strain the sand to make sure there are no stones or pebbles.
- Mix the cement and strained sand in the ratio of 1:4. Add water to get a paste-like consistency.
- Spray some water on the wall and then put the cement mix on the wall.
- Now start with the 10mm plaster.
- Check the wall with the help of a spirit level to make the tiles stick strongly to the wall. The plaster does not really need to be smooth.
- To install the tiles, we need to support them. Use a wooden log to provide support. Make sure to check the accuracy of the log with the help of a spirit leveler.
- Now make the marking of the tiles on the plaster with the help of the 3D layout design.
- With the help of the spirit leveler, mark a straight line on the plaster. This will be the line for the first tile.
- Soak the tiles in water 30 minutes before installing them on the wall.
- Make a paste of cement and water with a 1:1 consistency. For example 1 little water for 1kg cement.

- Every tile has an arrow marking on its back. Make sure while installing the tiles, the arrows of all the tiles are in the same direction.
- Start applying the cement paste on the back of the tile.
- Paste the tile on the wall according to the marked line. Use a rubber hammer to make it stick strongly to the wall. Repeat the same process for the other tiles.
- Place a spacer between the tiles. This will make sure the tiles are placed at the same distance. Also, keep wiping the tiles while putting them up so that there is no cement residue left on them.
- Use the spirit leveller to make sure the tile is at the same level.
- Now make the same markings on the adjacent wall to make sure the installation is similar to the first wall.
B) Wet-Dry Process
- Make the wall surface rough by the process of hacking.
- Clean the wall to remove any dirt or cement.
- Wet the wall with clean water 24 hours before installation. Also, make sure the wall is wet right before the installation so that the wall doesn’t soak the mixed water.
- Use the spirit leveller to level the wall.
- Make a paste of cement and water with a 1:1 consistency. For example 1 little water for 1kg cement.
- To install the tiles, we need to support them. Use a wooden log to provide the support. Make sure to check the accuracy of the log with the help of a spirit leveller.
- Sprinkle water on the wall to make it wet.
- Soak the tiles in water for 30 minutes before installing them on the wall.
- . Every tile has an arrow marking on its back. Make sure while installing the tiles, the arrows of all the tiles are in the same direction.
- Start applying the cement paste on the back of the tile.
- Place a spacer between the tiles. This will make sure the tiles are placed at the same distance. Also, keep wiping the tiles while putting them up so that there is no cement residue left on them.
- Use the spirit leveller to make sure the tiles are at the same level.
Also Read :Most Common Tile Installation Problems – Tips and Solutions
How to fix the gaps in the wall tiles:
- Remove the spacers and clean the tile joints and tiles.
- Make a thick paste of cement and water
- Now fill in the joints with the cement mix using an iron plate. Make sure you use an ample amount of the mix to fill the joints.
- Clean the joints using a sponge and water after 30 minutes.
- After 24 hours, clean the joints again using soapy water. And then wipe it off with a dry cloth.
- Use silicone sealant on the edges of the walls.

What is the proper way to apply tile adhesive to a wall?
1.The instructions to make the adhesive mix are given on the packaging of the adhesive. Make the mix according to those measurements and instructions.
- Make sure there are no lumps.
- Measure the consistency of the paste. Now leave it for some time.
- Make sure there are no spills and the adhesive is applied straight on the wall and is stuck to it. Also, level the surface of the wall by using a spirit leveller.
- Use the 12mm notch trowel in the down to upward motion to spread the adhesive on the wall. The trowel will form ridges on the adhesive.Also Read: Tile Adhesive: usage, Importance, and Advantages

- Don’t cover the entire wall with adhesive the first time. Spread the adhesive partly which can be covered in one go.
- Apply the adhesive on the back of the tile and set it up. Now make the ridges on the back of the tiles using the notch trowel. The ridges should be in the opposite direction in comparison to those on the wall. Make sure the tiles are placed in the same direction as the arrow.
- Use a rubber hammer to make it stick strongly to the wall. Repeat the same process for the other tiles.
- Use the spirit leveller to make sure the tiles are at the same level. And keep wiping the tiles.
After the process is complete, secure the wall for at least 24 hours. For more, check out this youtube video: