Over the years, bathroom tiling has played a significant role in how your space looks, feels, and functions. If you are renovating your bathroom or building it from scratch, understanding how to install bathroom tiles correctly ensures a moisture-resistant and visually balanced space. It’s more than just being a design upgrade; it is about durability, safety and long-term performance.
We have put together a guide that walks you through the step-by-step process of bathroom tile installation for both floors and walls, to help you understand the flow and avoid the common mistakes.
Step 1: Choosing the Right Bathroom Tiles
Even before the installation begins, choosing the right bathroom tiles for the walls and floor is crucial. Bathrooms are high-moisture areas and require tiles that can withstand this moisture, sustain constant use and are easy to maintain. This is why bathroom tiles are selected by category and application, not just appearance.
Orientbell tiles offers dedicated tile categories for bathrooms, including:
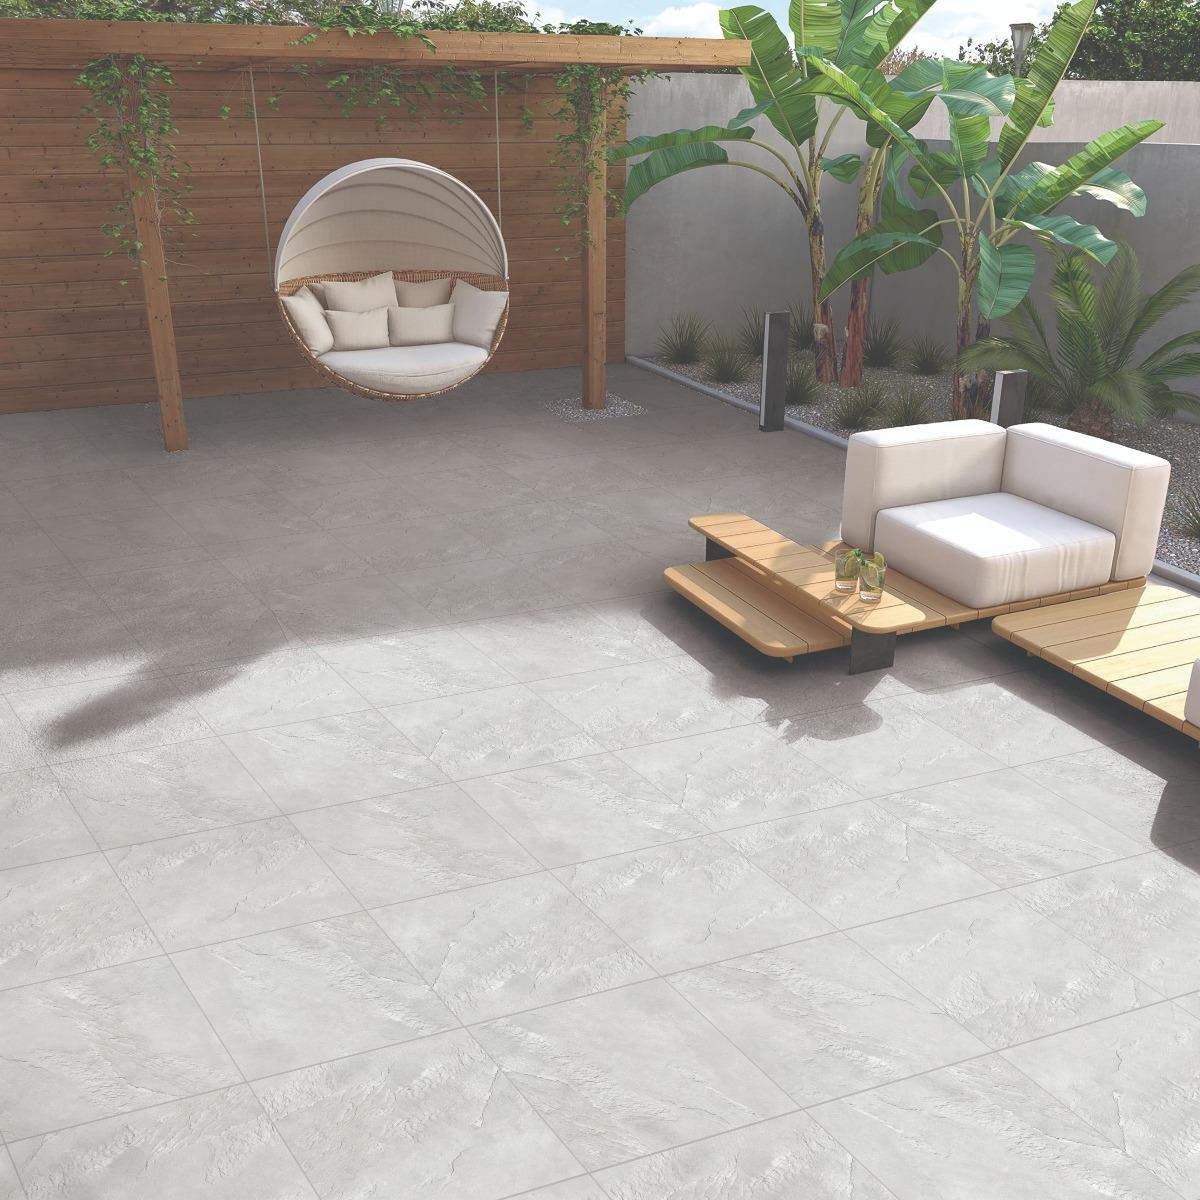
Vitrified tiles – Vitrified tiles work best for bathroom floors because they are tough, they resist moisture and even have anti-skid options. These are the ultimate blend of elegance and durability.
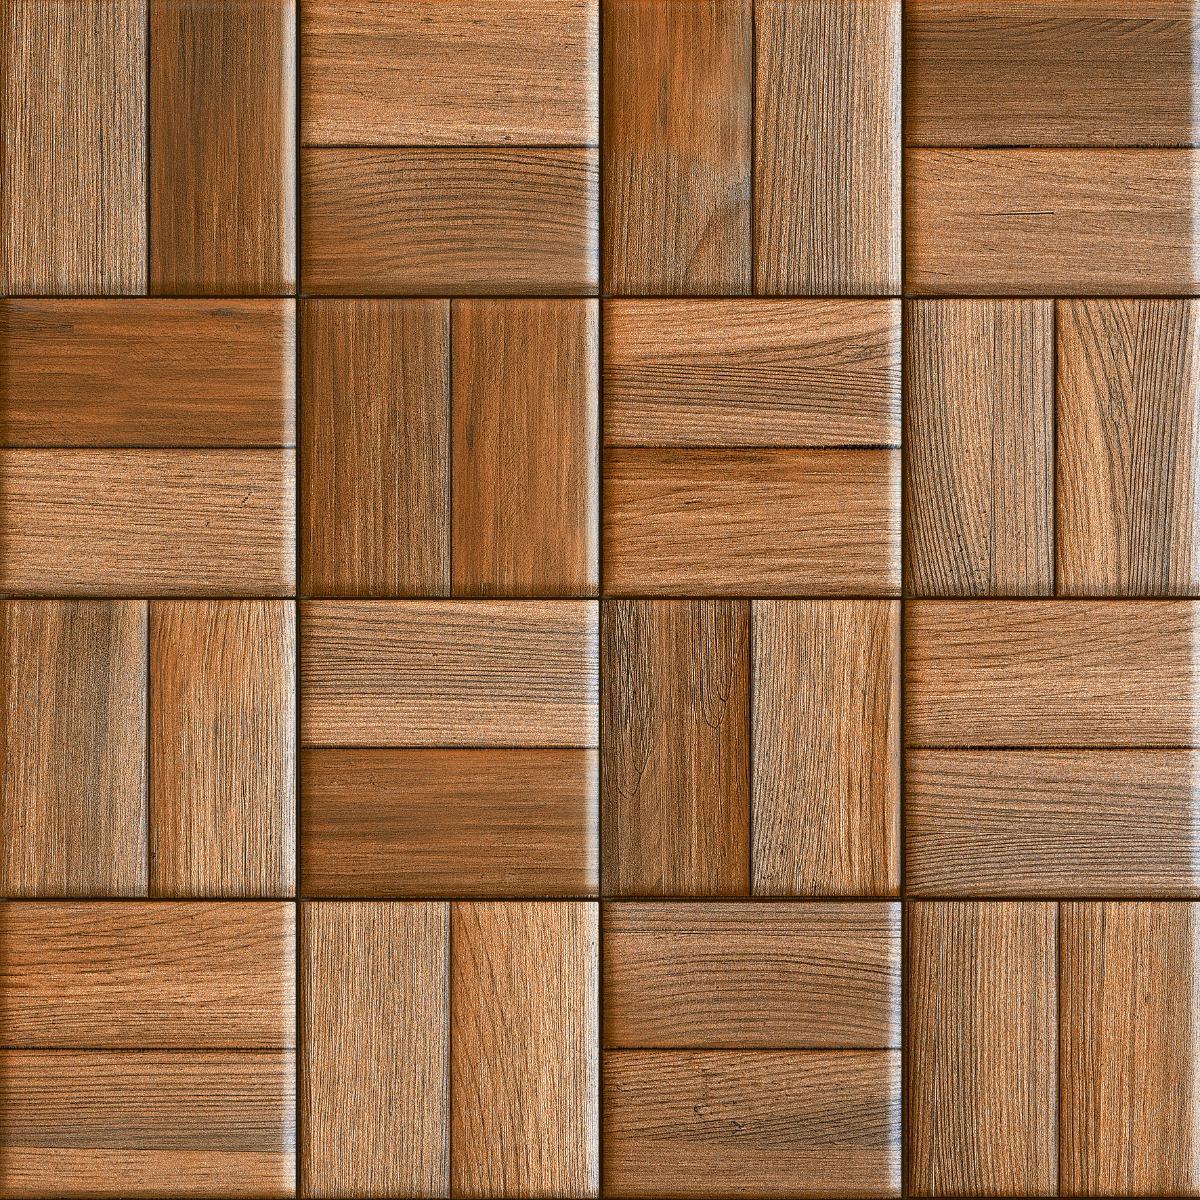
Ceramic tiles – Ceramic tiles are lightweight, making them easy to install; they resist stains and are easy to clean. Ceramic tiles are a popular choice for bathroom walls, and these are available in a variety of designs, colours and sizes to pick from.
Anti-skid tiles – Anti-skid tiles are a reliable option for shower areas, that one spot in the bathroom that is constantly wet. These tiles offer resistance, providing a grip in every step to prevent any slips and falls.
Choosing the correct category simplifies the installation process and ensures long-term performance.
Preparing your bathroom walls and floor surface before installation is an important step to get the desired results and avoid problems like hollow tile sound or tile sounds in future.
Before you start fixing the tiles:
Ensure the surface is clean, free of dust and grease.
If there are any patches or cracks, have them repaired first.
If fresh plaster has been applied, allow it to cure completely.
Waterproof the area, especially the shower zone, to avoid leakage.
This preparation stage directly affects bathroom tile installation price, as uneven surfaces increase labour and material costs.
Step 3: Bathroom Floor Tile Installation Process
When it comes to bathroom floor tile installation, accuracy and planning are key. Let’s take a look at the process.
-Before tile installation, plan the layout of the tiles by placing the dry tiles on the floor to understand the alignment, especially near the drain and edges. This also allows you to determine the cutting points for that clean, professional look.
-Once the layout has been determined, a notched trowel is used to evenly apply the adhesive to the surface. It’s recommended to work with sections, as the adhesive can dry quickly.
-Now the tiles are placed firmly with spacers in between to maintain uniform joints.
-Once the adhesive is completely cured and the tiles are set, grout is applied to seal joints and prevent water seepage.
Step 4: How to Install Bathroom Tile on the Wall
Knowing how to install bathroom wall tile helps achieve a clean, aligned finish. Below are some pointers to note.
Wall tiling is slightly different from floor tiling. Start by marking vertical and horizontal lines to keep the tiles visually straight.
Wall tiling usually begins from the second row. This allows for any adjustments needed in the bottom row to avoid any silvers at the base.
Just like floor tiling, apply a high-quality adhesive to the bathroom walls in sections and press the tiles gently using the spacers.
Once the adhesive is fully cured and the tiles are set, joints are grouted and cleaned to complete the installation.
Understanding these aspects helps homeowners plan installations better and communicate clearly with installers, ensuring smoother execution.
Step 7: Post-Installation Care
Below are some tips to follow post tile installation:
-Do not use the bathroom for at least 24-48 hours. -Clean the bathroom tiles regularly using gentle, non-abrasive cleaners only. -Keep grout lines dry and clean. -Regularly check the grout lines to make sure they are clean and dry. -Inspect the joints periodically to maintain performance.
Final Thought
Whether you are learning how to install bathroom tiles for the first time or overseeing a renovation, understanding the process makes a big difference. With the right planning and installation approach, bathroom tiles can offer long-term reliability and timeless appeal.
To bring your vision to life, explore the wide range of bathroom tiles available on the Orientbell Tiles website. You will find thoughtfully curated options such as bathroom tiles by size, bathroom tiles by categories, and popular designs—making it easier to choose tiles that suit your space, usage, and installation needs.
Bhanu Prakash Guthi is Assistant General Manager – Technical Support at Orientbell Tiles, with over 22 years of field experience in ceramic and vitrified tile technology. The insights shared in this article are drawn from his extensive work advising architects, contractors, and homeowners on tile selection, installation standards, and quality compliance. LinkedIn Profile: https://www.linkedin.com/in/bhanu-prakash-guthi-14b48819/


 600×1200 mm


 Over the years, bathroom tiling has played a significant role in how your space looks, feels, and functions. If you are renovating your bathroom or building it from scratch, understanding how to install