Cutting tiles accurately and safely is a crucial skill that one must have while undertaking modern tiling projects. While it does sound tricky, it is often something even beginners can handle. Whether working with any kind of tile, the right tools, techniques, and safety measures ensure clean cuts, professional results, and minimal material waste – this is the ultimate goal of any home project! This tile cutting guide walks you through the step-by-step process, tool selection, and best practices to help both professionals and DIY enthusiasts execute precise tile cuts with confidence.
Cutting Tiles with Accuracy: Why It Matters
Usually, as we know, tiles come in fixed sizes. However, walls and floors of homes could have corners or switch installations that do not match the original size of the tile. Therefore, cutting tiles helps fit them perfectly into those spots. As with anything else, tile cutting is also a precise job. If the accuracy is not maintained, the overall visual appeal of the room can look off. Here is why it is important to cut tiles with utmost diligence and exactness.
Aesthetic precision: Clean, straight cuts without chipping elevate any installation, whether backsplash, bathroom, or flooring.
Perfect fit: Properly-shaped tiles around fixtures or edges offer a seamless look.
Efficient usage: Accurate cuts reduce wastage and time spent re-cutting or adjusting.
Tools Required
Tool
Best For
Manual Tile Cutter
Straight cuts on ceramic/porcelain
Wet Saw
Precision cuts on porcelain/stone
Tile Nippers
Small notches, curved cuts
Angle Grinder
Curves, L-cuts, hard materials
Glass Cutter
Scoring and snapping glass tiles
Finding and using the proper tile cutting tools for a process that requires hard work, effort, and precision can reduce the load significantly. Prior knowledge regarding which tools would work on which type of tile works well to save time and energy.
Manual Tile Cutter
This tool is best suited for making straight cuts on ceramic and standard vitrified tiles. It is known to enable clean lines using a scoring wheel, followed by a snap bar.
Carpenter’s Tile Nippers
A tile nipper looks like a pair of pliers and is often used to trim the smaller parts of a tile. They are ideal for small notches and curved cuts, perfect for finishing around pipes and irregular shapes – basically, they can be used to make curved shapes or tiny adjustments.
Angle Grinder with Diamond Blade
This is a Portable and powerful electric tool. It uses a spinning blade to cut through the tiles. The angle grinder is great for straight lines, curves, L-shaped cuts, and getting through hard ceramic or porcelain.
Wet Saw with Diamond Blade
This is popularly known as the gold standard for straight and curved cuts on ceramic, porcelain, stone, and large-format slab tiles. It uses water and a sharp blade to cut the tiles. The tool offers clean, chip-free cuts.
A Detailed Guide for Tile Cutting
Step 1: Measure and Mark
Since each tile will occupy a specific space in the room, the first and most important step would be to measure the area where the tile is to be placed. Using a pencil or a tile marker, you can mark proper lines on the surface of the tile. For intricate shapes, use stencils. Also, make sure to double-check the measurements.
Step 2: Choose the Right Tool
Using the right tool will result in efficient tile cutting with minimal waste. Please refer to the table above to determine the correct tool and ensure you have the necessary safety equipment, such as goggles and gloves. Proper tool selection and preparation will not only make the process smoother but also minimize errors and improve the overall quality of your tile installation.
Step 3: Secure the Tile
Do not ignore this step. Always place the tile on a stable and flat surface. For larger tiles, use clamps or a non-slip mat to prevent movement during tile cutting. Loose tiles could lead to slipping or shifting, resulting in poorly or improperly cut tiles that create ill-fitting and incoherent visuals.
Step 4: Make the Cut
Follow the guidelines of the tool precisely. This will vary depending on the tool you are using.
Step 5: Smooth the Edges
After cutting, use a tile file, sandpaper, or a rubbing stone to smooth out any rough edges. This prevents injuries and ensures a snug fit during installation. It also provides a polished finish
Tips for Cutting Different Tile Types
If you are looking to do some DIY work, inspecting ongoing work in your home, or are just curious about how this industry works, here are some tile cutting tips that you need to know to work well with different types of tiles that have various textures and thicknesses.
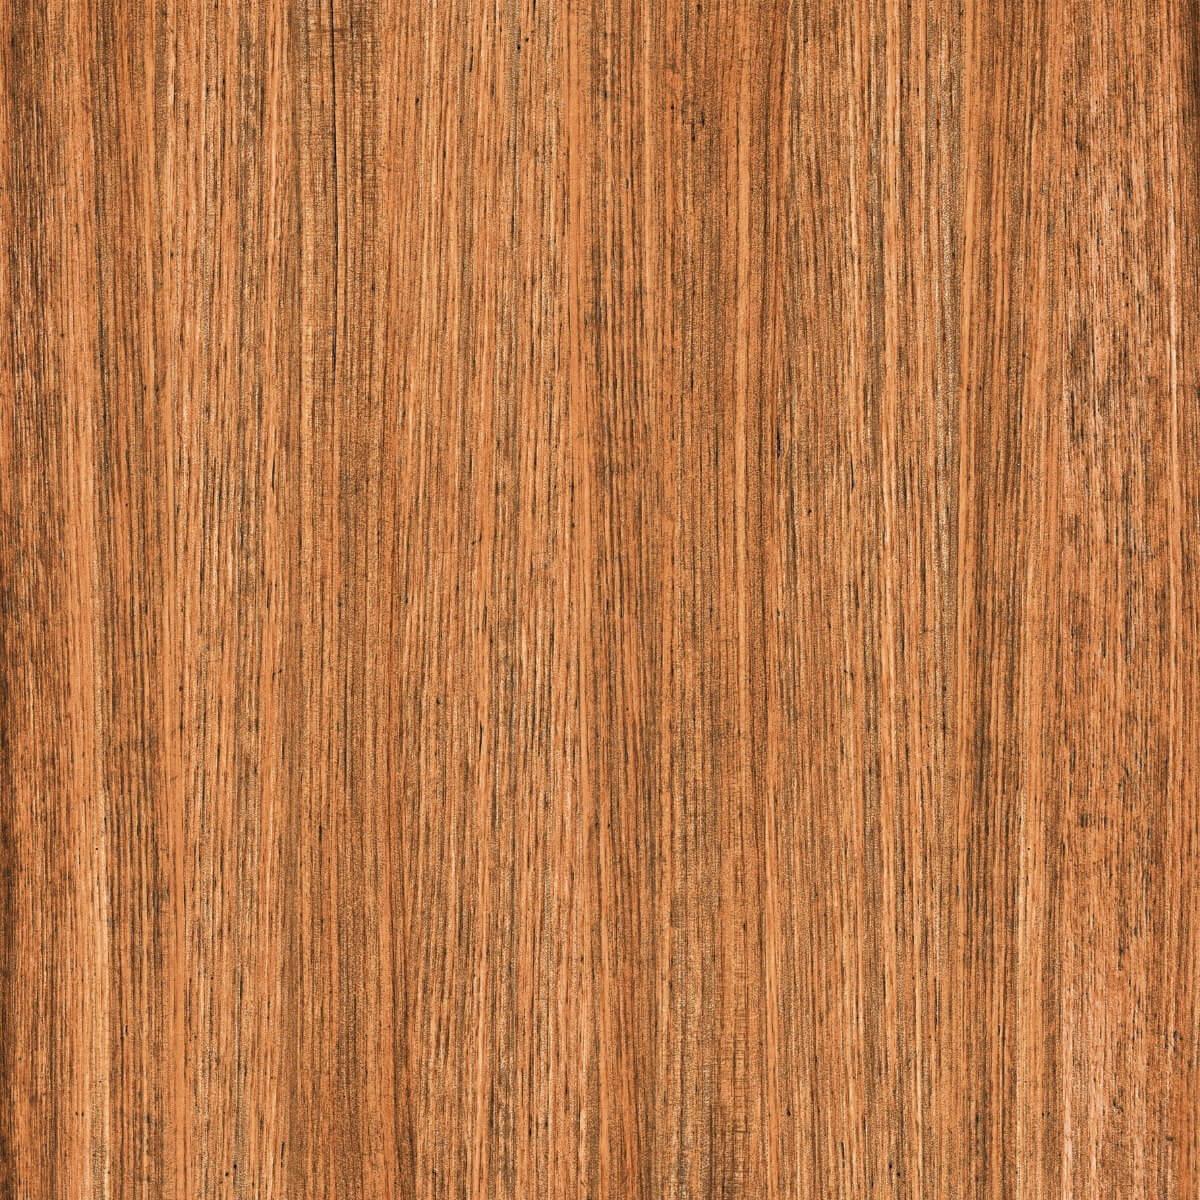
Ceramic Tiles – These are easier to cut and work well with manual cutters or wet saws. Use light pressure while scoring to avoid breakage.
Porcelain Tiles – Porcelain is denser and more brittle. A wet saw or angle grinder is the most effective tool for cutting porcelain tiles without chipping.
Vitrified Tiles – These are durable and water-resistant. A diamond-tipped blade on a wet saw or angle grinder offers the best results.
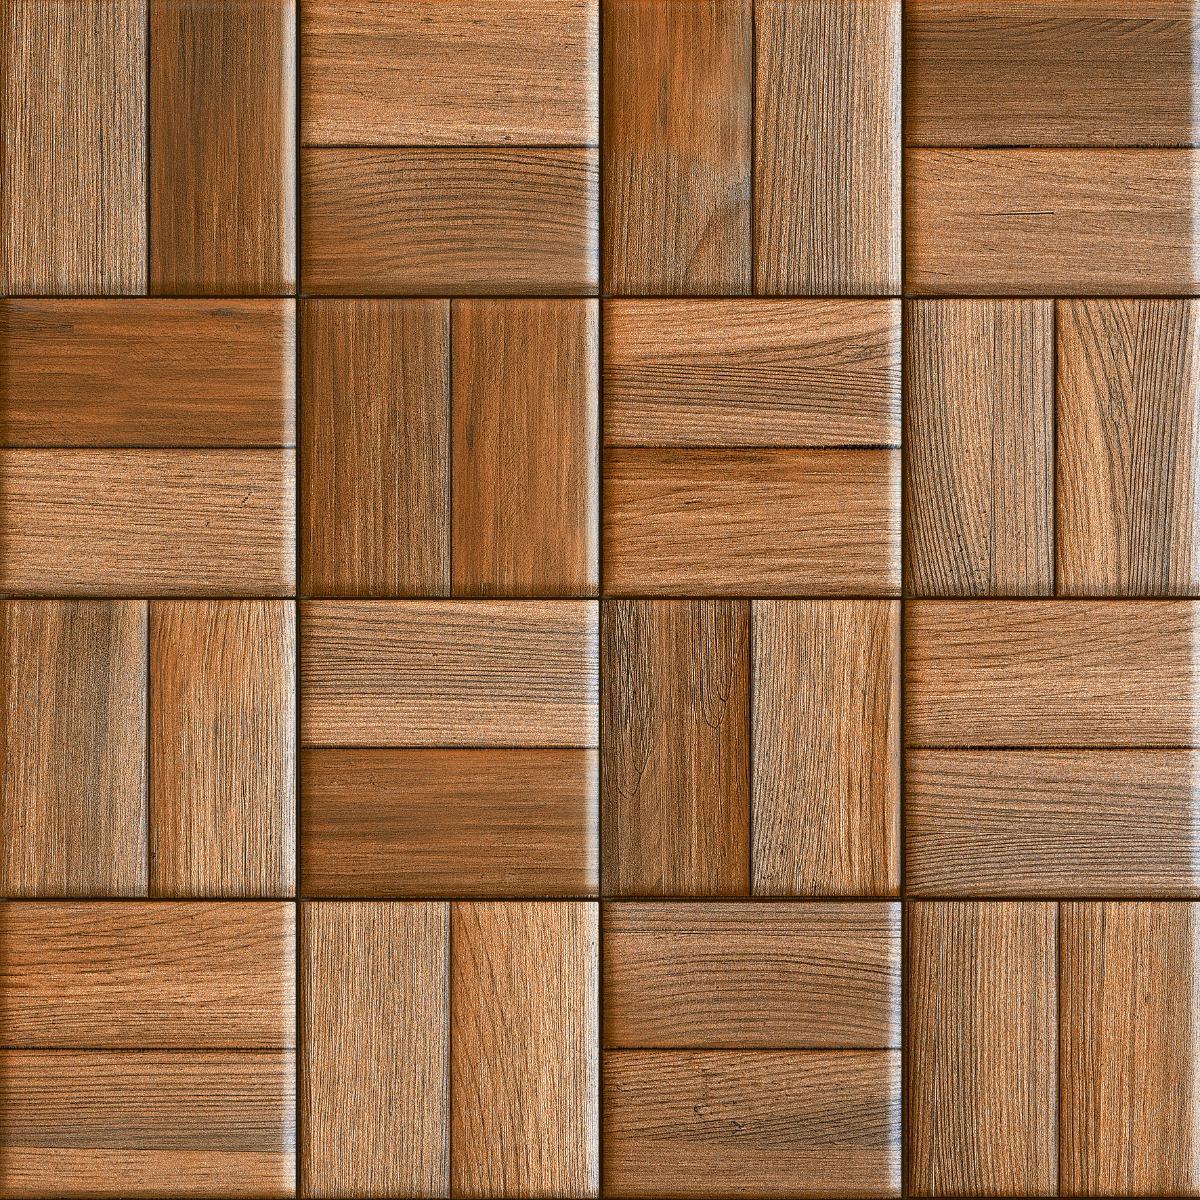
Slab or Large-Format Tiles – Slab tiles, often used for luxurious wall or floor finishes, require careful handling. Use suction pads for lifting and a wet saw for precise cuts.
Expert Tips and Safety Precautions
While beginners can perform tile cutting, it is still essential to exercise complete safety and caution when engaging in a task that requires heavy tools. Here are ten essential tips to keep in mind:
Wear safety goggles and protect your eyes from the debris and dirt.
Always use gloves to protect your hands from cuts and scrapes.
Since the work area will be dusty, it would be good to work in an open area or use a fan to clear out the dust.
Ear protection can also be beneficial, primarily when operating power tools.
Don’t rush. Take your time and be patient with the process, especially if you are new to it. Slowly completing the task also adds the advantage of keeping your hands steady throughout the process.
Pressing the tile too hard while cutting could result in tile breakage.
Accurate markings are everything. They are the final contributors to the overall visual appeal of the space. Minor errors can lead to gaps and waste.
Do not skip the step of smoothing the tile edges. Most cuts or injuries happen when the edges are rough and uneven.
Practice on extra tiles! You could make test cuts on leftover tiles to perfect your technique.
Learn through videos and a tile cutting guide, if needed.
Conclusion
Cutting tiles efficiently is key to achieving flawless, durable installations. It is an essential skill to have that can enhance the overall look and finished beauty of your tiling project. Ensure you select the appropriate tiles and tools for the job. At Orientbell Tiles, we offer versatile and stylish tile solutions to suit every space and need. Our experts are ready to guide you through the process and help you select tiles that are easy to work with and perfectly suited for your project.
Prerna Sharma boasts 12 years of comprehensive experience in content creation and marketing strategies. For the past two years, she has served as the Content Website Editor at Orientbell Tiles, where she has been instrumental in shaping engaging online narratives. Prerna's expertise has been honed through impactful roles at CyberMedia, HT Media, and NIIT University. She holds an MBA in International Business from Amity International Business School and a Bachelor of Business Administration from Asia Pacific Institute of Management.


 600×1200 mm