The first step towards building your dream home is to lay its foundation right. The foundation, when we talk about interior décor, is the flooring. Tiles are an exceptional choice for flooring as they are priced thoughtfully, are durable and resistant to liquid and not easily prone to abrasion. This outdoes any other natural stone material. The best part? They are easy to install as well. Let us have a look at how to lay floor tiles smoothly.
Where do you start when tiling a floor?
You first start with the right raw materials, equipment and safety norms. The absolute essentials when it comes to laying floor tiles:
Materials
- Cement
- Sand
- Tile adhesive
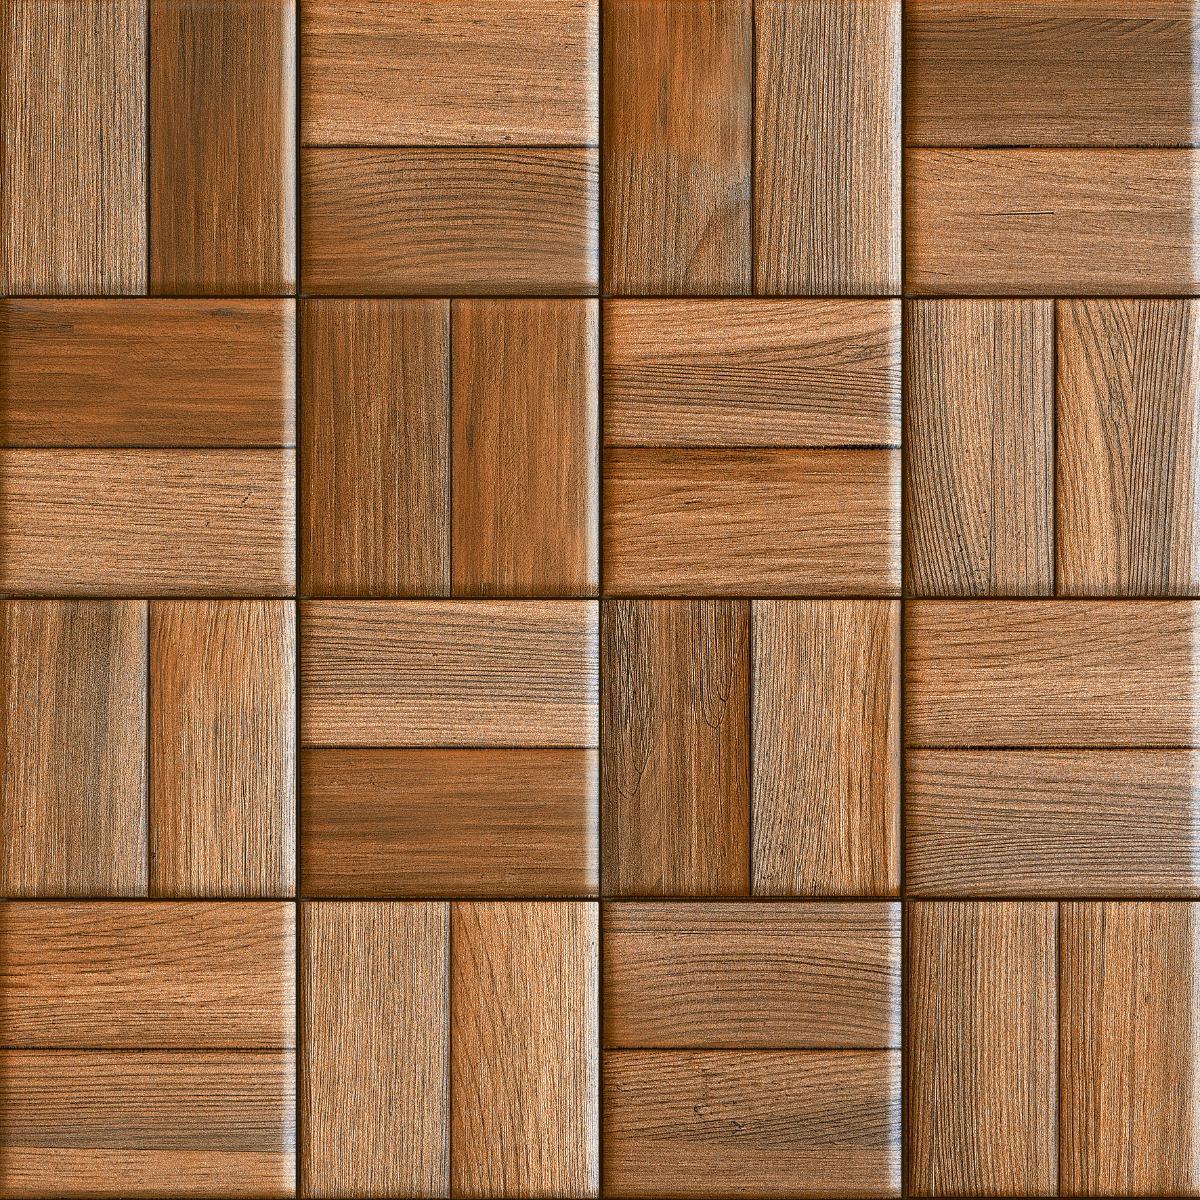
- Tiles
- Epoxy Grout
- Silicone Sealant
Safety
- Hand gloves
- Safety Glasses
- Industrial Safety Helmet
Equipment
- Gauging Trowel
- Notch Trowel
- Tile mortar mixer
- Diamond Cutter
- Tile Spacers
- Manual Tile Cutter
- Rubber Malate
- Torpedo Leveller
Once you have this equipment ready, you need to segregate the tile patterns as per the room and design. Orientbell Tiles’s every box comes with a batch number which helps you differentiate. Ensure that you use one batch for a room to keep the uniformity. Mark the tiles properly before cutting them and use the right equipment while cutting them.
Laying Floor Tiles Using Cement
- Clean the concrete floor properly and prep it before you install the tiles.
- If need be, hack the concrete using the hammer to make the surface rough.
- If there are any gaps or holes, fill them using cement.
- Ensure that before installing tiles, wet the concrete using water and let it stay for at least 24 hours. In case, any space dries out, wet it again. If excess, sponge the excess water.
- To make the floor levelled before laying the tiles, use level pads.
- Mark the dedicated 800 mm space from floor to tiles as suggested and mark the same at different places in the entire room.
- Ensure that the distance between the level pads and markings should be 800 mm and place level pads at different places to maintain the uniformity.
You can also watch this video showcasing step-by-step tile laying process on the floor –
Cement Mixing
- Start by straining sand from stones and other dust particles.
- Mix the cement with strained sand using a 1:6 ratio respectively. For instance, for one bucket of cement, you will add 6 buckets of sand. Add water and mix them nicely.
- Remember, prepare the cement mix as per the needs that will last for an hour. Do not make them in excess.
- Now, spread the mixture on the concrete floor and level them using a wooden pellet.
- The thickness of the laid cement mixture should not exceed more than 20-30 mm.
- Use the cement mixer in quantities and space which will allow smooth installation of tiles.
- Using the spirit leveller, check different spaces to see if they are levelled properly.
Now that the prep to lay tiles is over, now let’s have a look at how the tiles are installed.
- Measure 1200 mm from the wall and mark using a line dori.
- The distance between the wall and the opposite line should be 600 mm. The angle of both lines should be 90 degrees.
- Now, lay the tiles but before laying them hack the cement in proportion.
- Now lay the cement mixture from one area at a time. Mind the arrow at the back of the tile and install accordingly. Place the tile in tandem with the layout line.
- Use a rubber hammer after placing the tile to remove air bubbles. Check the tile alignment using spirit leveller.
- Place the second tile in the same manner, however, add a 3 mm spacer between the two. Keep cleaning the tiles of the cement marks over the tiles as when you lay them. Otherwise, it will be a task cleaning them once the cement dries out.
- Once all the tiles are laid, clean them and leave them be for at least 24 hours.
- Ensure that during this resting time, there is no pressure on the tiles and place a cover over them.
- Add 75 mm skirting at the ends of the tiles. Use the cement on the tile and add them to the skirting. Keep checking the skirting alignment.
Tile Joint Filling
- Before filling the grout, remove the spacers and clean the tile joints as shown in the video.
- Mix water into the grout and make a thick paste.
- Now, fill the joints as shown.
- 30-45 minutes after grouting is completed, use clean water and rubber to clean the joints. After 24 hours, use soap water to clean the area.
- Cover the tiles with a protective cover.
Tiling Using Tile Adhesive
- Clean the cement floor and add markings as shown before.
- Now, mix the adhesive with water or lates as instructed.
- As per marking, add the tiling adhesive and lay the tiles.
- Add tiling adhesives on the back of a clean tile and keep the arrow in mind.
- Keep checking the level and alignment regularly.
- Use spacers as mentioned before and follow the cleanliness procedures.
- Use a rubber hammer to level the tiles out and to get rid of any air bubbles.
While renovating, often you may have to lay tiles on a ready floor or ones with stones. You will have to use tile adhesives in such scenarios and follow the procedure carefully as shown in the video.
Also Read: Tile Adhesive: usage, Importance, and Advantages
Points To Note:
- Segregate tiles as per batch numbers
- Use broken tiles as cut pieces
- Check the corners of the tiles before installing
- Prep the concrete flooring before tiling
- Install tiles keeping the arrow mark behind them in mind
- Check the levelling using a spirit leveller
- Always use spacers
- Use adhesive paste abiding by the manufacturer’s guide
- Clean the tiles as you go while laying epoxy grout
- Leave the floor for at least 24 hours.